Inspection of Optical Surface
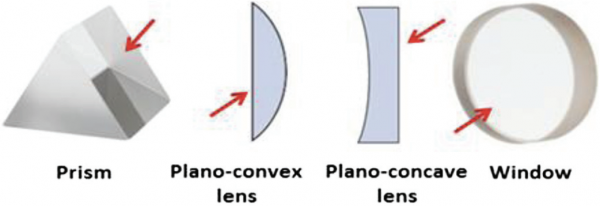
There are essentially five major surface shapes for optical applications: flat, spherical, cylindrical, aspherical, and diffractive. Each of the surfaces is defined by parameters necessary for its functionality. Deviation in some surface parameters may cause deviation in the wavefront passing through the element (lens, window, or filter) or impinging on the optical surface (mirror), followed by the deviation or failure of the optical assembly. Flat (plane) surfaces appear in lenses, mirrors, windows, prisms, filters, and beamsplitters (Fig. below). The surface figure may be characterized by flatness, irregularity, and power. If the surface is produced by DT, then the permissible roughness of the surface should also be defined. The quality of the flatness of plane surfaces can be measured by a flat test plate (test glass) or by an interferometer.

A spherical surface (convex or concave, see Fig. below) is defined by the radius of curvature with the tolerances, irregularity (peak to valley, or PTV), and in some cases the power ring (Newton ring) deviation from the nominal radius value or from the spherical test plate chosen by the producer (the latter is always within the limits of the stated radius of curvature). In some cases, the RMS irregularity is defined, too. If the surface is produced by DT, then the roughness of the surface should also be defined. The quality of the spherical surface shape and figure can be measured by a radial test plate (test glass) or interferometer. Testing roughness, if needed, can be made for instance by a profilometer or a combination interferometer/profilometer, e.g., NewView™ 7300 by Zygo).

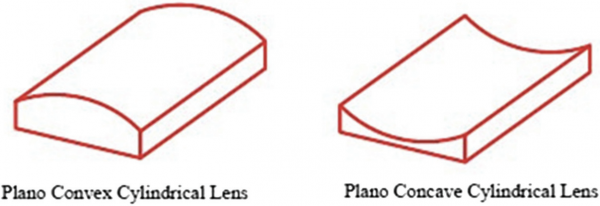
A cylindrical surface (convex or concave, see Fig. below) is a surface at a constant distance (the radius) from a straight central line. A cylindrical surface is defined by its radius, orientation, and location (definition from ISO/CD 10303-42:1992). The quality of the cylindrical surface can be measured by a cylindrical test plate or by an interferometer with a computer-generated hologram (CGH).

An aspherical surface is a surface whose profile is not spherical or cylindrical (see Fig. below), and it is defined by its basic formula, basic radius of curvature, irregularity, roughness, and additional parameters. The quality of aspheric surfaces can be measured by contact or non-contact instruments. It also can be measured by an interferometer with CGHs or by an interferometer with a null lens.
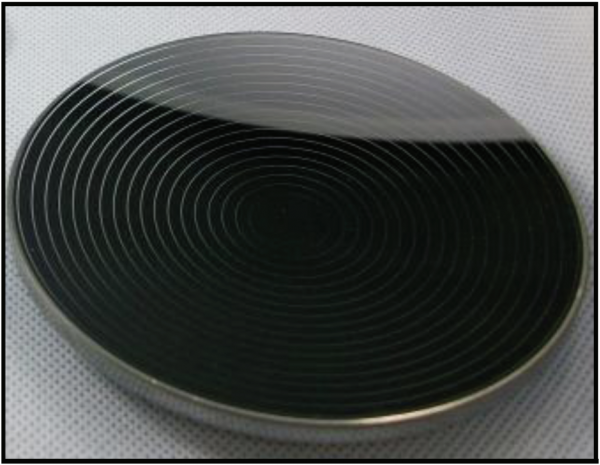
In addition to the basic regular designations (irregularity, roughness, radius, etc.), a diffractive surface (in the IR range) is defined by the size and shape of the diffractive steps and by their location on the surface (Fig. below).
The quality of diffractive steps can be measured by a profilometer or a interferometer/profilometer; the former is a contact device, and the latter is non-contact. Both tools are capable of measuring additional parameters such as surface form, roughness, the Sagitta height of convex surfaces, and more.

